Pages

Monday, April 13, 2015

It's Official

It’s official, A. and I are beekeepers!


Yesterday started off with me making sugar syrup and A. building a hive stand then ended with us being official beekeepers.


I picked up the bees in the morning and A. finished up the hive stand and boxes while I was at my band concert. Then we packed everything up and headed to Chippewa to hive our bees.


Everything ready to go.

All in all it went pretty well. A pretty big hiccup occurred so we’ll see how that turns out (more on that in a minute.) When we got there we got everything set up and in place so we weren’t searching around for things. We decided that I would do most of the tasks and A. would help out when needed as well as take some awesome pictures. After everything was set up I donned my disposable painter’s coveralls and we got started. (Note to self: get a real bee suit or at least a decent work shirt and pants for beekeeping)


Spraying down the bees.
If you read the Beekeeping with Mr. Smith post, the steps are pretty much the same. Spray the bees, whack the box, remove the can and queen cage, check the queen, place the queen, and dump the bees in. Then put everything back together and you’re done right? Well, normally yes. Our story has a few twists in it however.

So things started to go awry when I removed the first queen from the package to take a look at her. 
Queen cage from the first package.

Bees releasing and spreading pheromones.
Most queen bees are held captive in their cages by a plug of candy which is then covered with a cork to prevent her escape while in transit. The beekeeper removes the cork and places the cage in the hive. Then the worker and attendant bees eat away the candy and release the queen. This is how Mr. Smith’s bees arrived and most of the things I’ve read say that this is the most common procedure. Well, the books did mention another type of queen cage where the queen is only held in by a cork. The idea being that the beekeeper removes the cork and then, in a swift ninja-like move, plugs the hole with a piece of marshmallow or fondant blocking the queen’s escape and then the process continues along the same as before. Well guess what kind we got? Yup, the non-candy one. So, now what? I didn’t bring any marshmallows because I assumed that we’d have the candy cages. (Remember that adage about assuming things? Yeah, that fully applies here.) I didn’t want to just stop everything now that we had already started so we improvised. In a move akin to the dorm room microfridge and frozen pizza slam, this is how it went down. We placed the cage between some frames and then A. got ready to pull the cork while I grabbed the package of bees. A. pulled the cork and I quickly dumped some bees on top. Then dumped the rest of the bees in the hive. This seemed to work pretty well on the first hive. The bees on top of the queen did their thing and shoved their little butts up in the air while fanning their wings to release and spread a pheromone that tells the other bees that the queen is in the hive and all is well. We got everything together, put some syrup in the feeder and put the lid on. 

At this point I remember about the pollen patties that I made the night before to put in with the bees since nothing is flowering yet and they don’t have anything stored. I had forgotten to put it in before we put the hive-top feeder on and then the outer cover. So we opened it back up and stuck the pollen patty in there.

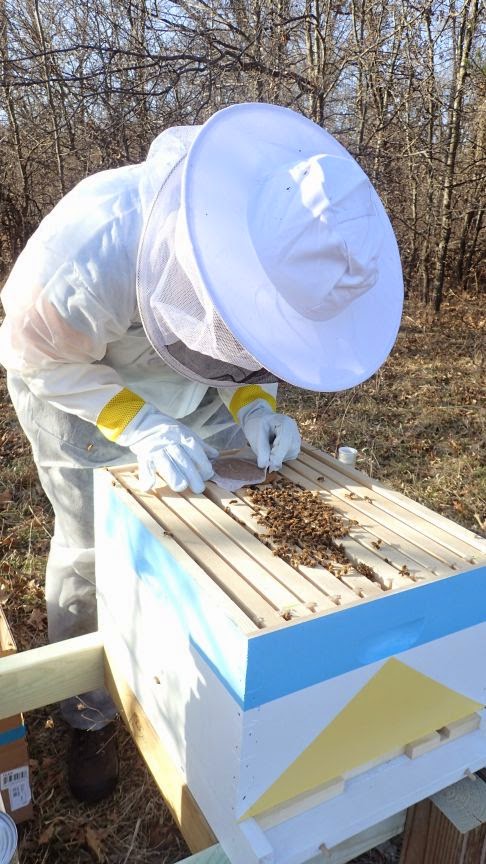

Then I went to do the second hive. Again, no candy in the queen cage so we did the same thing as before except this time, the queen cage didn’t stay put between the frames the whole time. It seemed to work ok at first but I think when I dumped the first bundle of bees on top of the queen, she fell down to the bottom. Oops! We didn’t notice this had happened until I had already gotten the rest of the frames into the hive. A. mentioned not thinking that the queen cage was still were we put her. I didn’t want to disturb them too much so I just moved the frames apart a little bit and peered down into the hive. Sure enough, there was the queen. Luckily, she landed with the screen side up. I had read another method of hiving a colony where the queen is pushed into the hive through the entrance so we decided to leave her there and see how it goes. Fingers crossed!


Search and rescue mission for swimming bees.
This time A. helped me remember the pollen patty so I got that in there and then put the feeder on top. We had to do a bit of search and rescue with the bee brush while filling the feeders and putting the lid on. Then a couple of bricks on top of each hive to deter any pesky raccoons and we were done! A. and I are now officially beekeepers and gosh darn it if those hives didn’t look fantastic sitting up on their little knoll in the early evening sunlight.


Hives on the hill.
Ready to start.
Now the hard part. We wait and, in my case, we worry. We aren’t supposed to open the hive for a week to give the bees a chance to settle in, accept the queen, and start drawing out the comb. (Mini vocabulary lesson: when bees build comb it’s called drawing out. And it’s not always honeycomb. If it’s in the lower two hive bodies or deeps it’s called brood comb.) If there’s one thing I’ve always been terrible at it’s not anthropomorphizing just about everything. Ever since I was small my stuffed animals had names and personalities. I name my cars and feel the twinge of regret when they get replaced. When my parents moved out to the country from the home I grew up in I made them transplant the oak tree whose seedling survived the trip home from kindergarten wrapped in damp paper towels at the bottom of my backpack because I couldn’t bear the thought that the next owners might not want an oak tree there and would cut it down. Now here I go again with bees. I’ve officially been a beekeeper for all of a day and I woke up last night during the rain and started worrying that we forgot to slightly tilt the hive stand forward so that water would run out of the hive (ignoring the fact that we have screened bottom boards and this won’t be an issue.) I worried that the bricks we put on top would not be heavy enough to deter the raccoons that were, for certain, ravaging the hives at that very moment while they ignored the large bear that had his sights set on our honeyless hives because we do not yet have an electric fence set up. What would we do if our bees decided to kill their queens or the queens absconded from the hive because they were released almost immediately? Thankfully, I did finally realize that I was being a tad ridiculous since not much of this was within my control at the moment and made it back to sleep, but not before being relieved that A. and I have plans to go for a walk today and I can check on the hives. I’m sure they’re just fine and doing what bees do but until I know for sure, I’ll be a bit anxious. In the meantime, here's a few more pictures from the adventure.


Saturday, April 11, 2015

Almost There

Well, there’s good news, there’s bad news, and there’s exciting news (which may also be categorized as good news).

Fronts of the hives. The bees enter at the bottom of the triangles.
Good news! After a week of cold, rainy and just generally crappy weather A. and I finished the paint on the hives. They look pretty sharp if I do say so myself. There are studies that show that bees can

see a handful of colors so we painted the hives accordingly. Painting hives different colors will help the bees know which hive is their home. In some cultures they paint different symbols on their hives too. An “X” on one and a diamond shape on another, for instance. A. and I also went for a walk today to enjoy some of the beautiful weather. The peeper pond was just nuts! Between the spring peepers and the wood frogs (which we affectionately call “chucklers”) the cacophony was deafening and I do believe I put my fingers in my ears at one point. But I digress, on this walk we also decided on a final site for the bee hives. I think its going to be a good one with plenty of resources nearby for the bees to forage.
Backs of the hives. This is the two bottom deeps or brood
boxes and the hive-top feeders on top of that. Should we
need to put any honey supers on they will look like the feeders.

Which brings us to...

Bad news. Unfortunately, there are a few items in this category. We still have to build our elevated hive stand and get it down to the site. Not to mention it’s supposed to rain tomorrow and I have a band concert. Don’t get me wrong, I love playing my horn in the band but geeze, talk about poor timing. A. assures me that we won’t have a problem getting everything together for the bees despite my musical absence but I can’t help feeling anxious.

Ok, are you ready?

Exciting news! THE BEES ARE HERE AND WE’RE PICKING THEM UP TOMORROW!!!! Ok, well seeing as it’s after midnight it’s actually today but I’m sooooo excited to get them. Unfortunately, since it may rain all day tomorrow we might need to hold them in their packages overnight in the basement until Monday when it’s forecast to be nice. You can’t really put bees in a hive when it’s raining. I mean you could, I suppose, but I just don’t see that going over very well. I guess we’ll just have to wait and see.

Alright, I need to try to go to sleep now. Lots to do in the morning.

Bye for now!

Saturday, April 4, 2015

Beekeeping with Mr. Smith

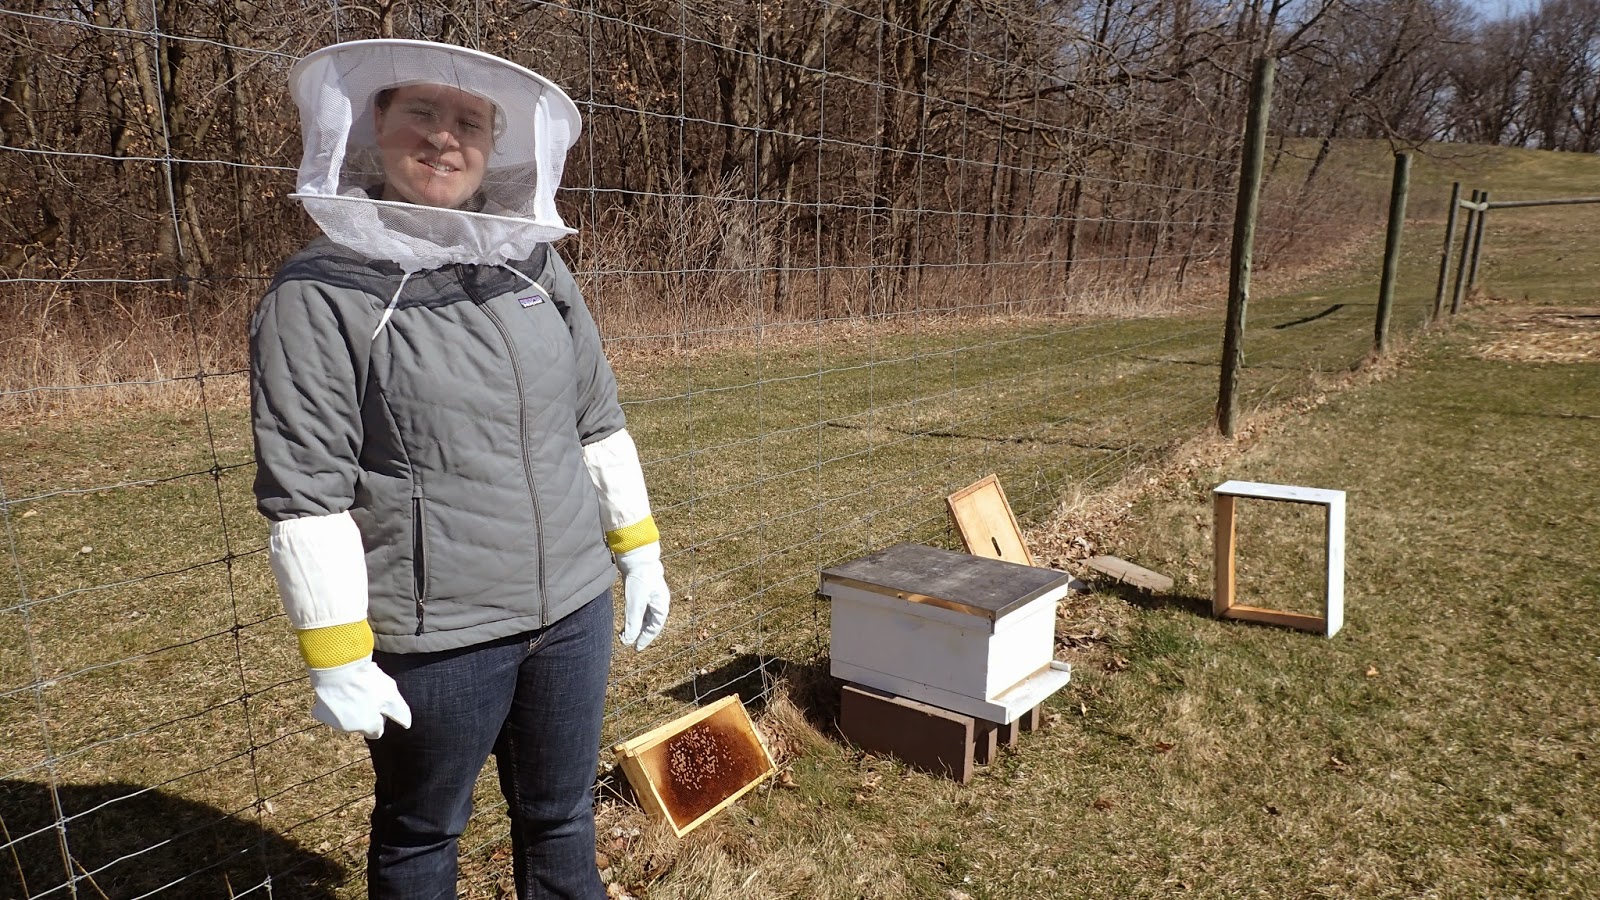
Me in my veil and gloves ready to watch a bee installation.
Today A. and I got our veils dirty in our first real beekeeping experience! This morning I got a call from Mr. Smith, a man that we had met at our first beekeeping meeting. He invited us to come watch him install some packages of bees into his two hives. Seeing as our bees are due to arrive next weekend, it was a perfect opportunity to experience how it’s actually done rather than just reading about it in books. So we got some directions and headed over to Mr. Smith’s place.

Mr. Smith sprays the bees with syrup.
Located south of the city, Mr. Smith’s hives are inside an orchard/garden area, fenced in by a very tall fence. There are a lot of apple, plum, and cherry trees as well as some grape vines, rhubarb, blueberries, raspberries and black caps. With mixed forest land nearby as well there is plenty for his bees to feed on throughout the year.

We got there and suited up while Mr. Smith drove his car out to the hives in order to keep the bees as warm as possible. Today is a bit cold for installing bees in a hive but when the bees arrive you have to do the best you can.

The queen cage.
Dumping in some bees.
After he got everything ready the process began. It’s a pretty simple process and went off just like the books describe. First, spray the bees with a little sugar syrup so they are too busy licking it off of each other to fly away. Second, smack the package of bees on the hive so that they all fall to the bottom of the package. Remove the feeding can and caged queen. Next, make some room for the bees in the hive by removing some frames. Then just dump a bunch of bees into the hive. Remove the cork from the candy end of the queen cage and wedge it in between a couple frames in the center of the hive with the candy end at the top. Dump some more bees on top of the queen and then replace the frames you took out. Put the inner cover on and set up a feeding bucket with an empty box around it, then put the outer cover on. Repeat for any subsequent hives and voila! You've got your bees into their new homes. Mr. Smith took a couple extra steps like pouring some of last year’s honey on top of the frames to give the bees a head start and he also put a black insulated plastic blanket around his hives to keep them warm. Depending on the weather, we may not need to worry about that but if it’s still cold next week we may wrap the hives in some tar paper.

The queen wedged in place.
The entire process for both hives only took about 45 minutes and may not have even taken that long except A. and I were asking quite a few questions. Neither of us got stung but Mr. Smith had a bee crawl into one of his short work gloves and sting him. They may hinder my dexterity a little but I was happy to have my elbow length gloves.


That as they say is that, ladies and gents. We thanked Mr. Smith for letting us tag along and offered any help he might want in the future then headed back home to get our hives painted.

I’m looking forward to the arrival of our bees next weekend and I feel a bit more confident about the installation process. Now, off to paint the hives!


Put the cover on and we're done!


Friday, April 3, 2015

Jump Right In!

It started with me wanting to check out beekeeping and maybe tag along with some experienced beekeepers this year to see if I even liked it before deciding what to do next. You know… dip my toes in the water. So we attended a few meetings and the next thing you know, we’re at Fleet Farm for maple syrup stuff and their beekeeping items just happened to be on sale! So we bought it. All of it. No, we didn’t clear out their whole selection but we did buy everything we needed for two complete hives except the supers and actual bees.

Diagram of a Langstroth Hive found in a Google image search.
Quick Vocabulary Lesson:
Deep - The large size boxes that make up the base of a bee hive. The traditional Langstroth beehive has two deeps on the bottom. These can also be called the brood boxes or hive bodies and are where the Queen lays eggs and workers raise larvae. Sometimes these are called deep supers but I'll just refer to them as deeps, hive bodies, or the brood chamber.

Super - Sometimes called a honey super, these are the shallow or medium size boxes on top of the two bottom deep boxes. Supers are where the bees store honey. Generally when a hive has 3 or 4 supers it is considered “fully supered” and the hive has reached maximum height. You can put more on but then you'd better have a really sturdy ladder. Technically, a super is any box that's involved in the hive but I'm going to stick to the usage I mentioned here.

At this point I thought that maybe I was still going to wait until next year to swim in the deep end but then A. and I went to another bee meeting and I signed up to buy bees. We decided that there was no time like the present and we should just get started now. Why not?

So there you have it folks. We jumped right in and we’re going to be beekeepers, I've been reading as much as I can, and I’m incredibly excited. Our “girls” (bees) arrive next weekend and there’s a lot to be done before they get here like painting the hives, clearing out the site, and building the hive stands. Also, since we’ll be keeping them at A’s house due to EC’s new beekeeping ordinance being so restrictive, we’ll need to put up an electric fence to keep out the larger honey loving animals known as bears. Guess we’d better get to work! Check in later to see how things are going. I’ll try to keep up with updates.