 |
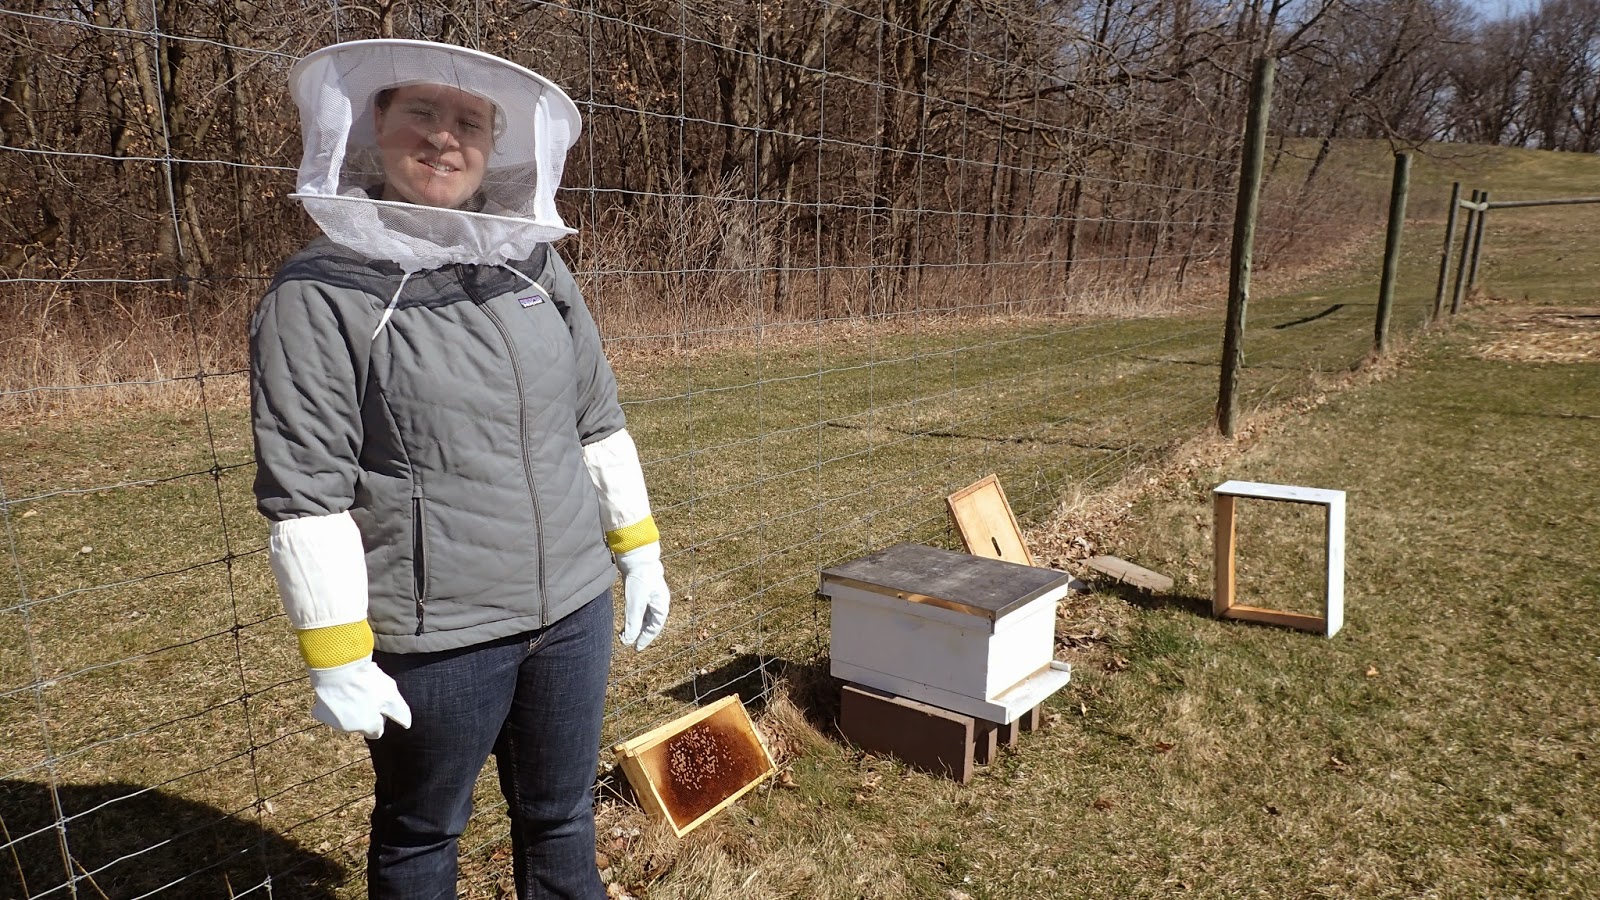
| Me in my veil and gloves ready to watch a bee installation. |
Today A. and I got our veils dirty in our first real beekeeping experience! This morning I got a call from Mr. Smith, a man that we had met at our first beekeeping meeting. He invited us to come watch him install some packages of bees into his two hives. Seeing as our bees are due to arrive next weekend, it was a perfect opportunity to experience how it’s actually done rather than just reading about it in books. So we got some directions and headed over to Mr. Smith’s place.
 |
| Mr. Smith sprays the bees with syrup. |
We got there and suited up while Mr. Smith drove his car out to the hives in order to keep the bees as warm as possible. Today is a bit cold for installing bees in a hive but when the bees arrive you have to do the best you can.
 |
| The queen cage. |
 |
| Dumping in some bees. |
After he got everything ready the process began. It’s a pretty simple process and went off just like the books describe. First, spray the bees with a little sugar syrup so they are too busy licking it off of each other to fly away. Second, smack the package of bees on the hive so that they all fall to the bottom of the package. Remove the feeding can and caged queen. Next, make some room for the bees in the hive by removing some frames. Then just dump a bunch of bees into the hive. Remove the cork from the candy end of the queen cage and wedge it in between a couple frames in the center of the hive with the candy end at the top. Dump some more bees on top of the queen and then replace the frames you took out. Put the inner cover on and set up a feeding bucket with an empty box around it, then put the outer cover on. Repeat for any subsequent hives and voila! You've got your bees into their new homes. Mr. Smith took a couple extra steps like pouring some of last year’s honey on top of the frames to give the bees a head start and he also put a black insulated plastic blanket around his hives to keep them warm. Depending on the weather, we may not need to worry about that but if it’s still cold next week we may wrap the hives in some tar paper.
 |
| The queen wedged in place. |
The entire process for both hives only took about 45 minutes and may not have even taken that long except A. and I were asking quite a few questions. Neither of us got stung but Mr. Smith had a bee crawl into one of his short work gloves and sting him. They may hinder my dexterity a little but I was happy to have my elbow length gloves.
That as they say is that, ladies and gents. We thanked Mr. Smith for letting us tag along and offered any help he might want in the future then headed back home to get our hives painted.
I’m looking forward to the arrival of our bees next weekend and I feel a bit more confident about the installation process. Now, off to paint the hives!
 |
| Put the cover on and we're done! |
No comments:
Post a Comment